Reports of New Information
Table of Contents
Review Report Safety/Compliance Information for an overview of reporting requirements and the RNI process.
Submit RNI
Step 1: Create the Report of New Information
- Click Report New Information from My Inbox, or from a related study or site
Step 2: Complete the RNI Zipline SmartForm
- Enter a short title for the submission (Question 1)
- For most submissions we recommend using the following format: [PI Name]_[1-2 Word Descriptor of Event], e.g. Smith_Tachycardia SAE, Smith_DSMB Report, Smith_Revised IB
- Enter the date you became aware of the information (Question 2)
- For PAVE reports: enter the date you are submitting the PAVE report
- Select the category (or categories) that best represents the new information being reported (Question 3)
- For PAVE reports: Select Report as the category of new information
- Describe the event and what, if any corrective action has been taken or is proposed (Question 4)
- If a related modification will be submitted, please note this. If the modification has already been created, make sure to associate (link) it with the RNI in Question 6.
- Indicate your assessment of the RNI regarding new or increased risk or safety issues, and whether the study and consent form need revisions
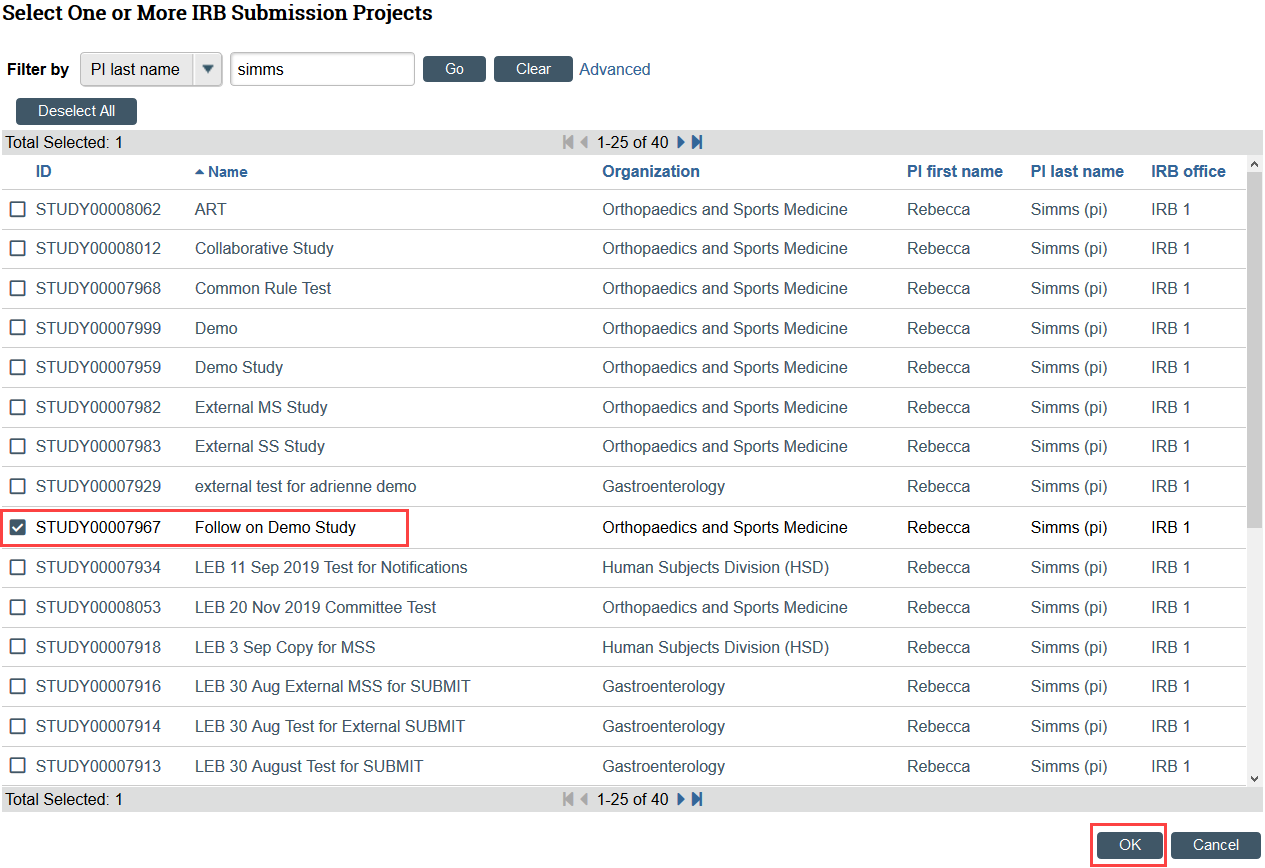
- Link any related studies, sites, and or modifications if applicable
- Studies must be approved in Zipline in order to link the study to the RNI
- To add a related modification, first add the modification’s parent study. After adding the parent study, the RNI SmartForm must also be saved before the modification can be added.
- Click the ellipsis

-
- Select the checkbox for the related study or modification and click OK
Step 3: Upload the RNI Supplement and Other Supporting Documents (if applicable)
- The RNI Supplement is required for all RNIs submitted by researchers.
- You should also upload any documents related to the RNI, such as a copy of the DSMB report.
- Never include identifiable subject information!
To Upload:
- Click Add
- Select the file to upload
- Click OK
- Save and Exit the SmartForm

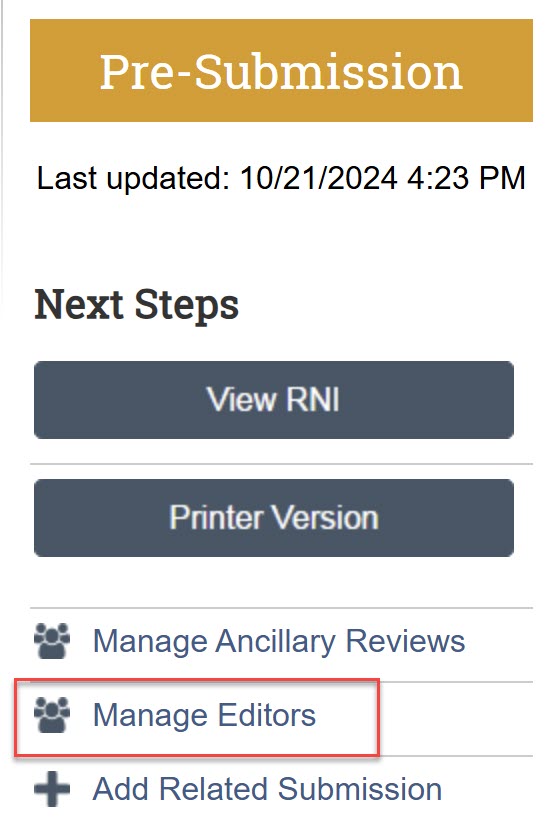
Step 4: Manage Editors for the RNI Submission
Add study team members that you want to be able to edit and submit the new information. The PI and any PI proxies of linked studies automatically have edit permissions.
Step 5: An RNI Editor must submit in Zipline
- Click Submit RNI and OK to complete the submission
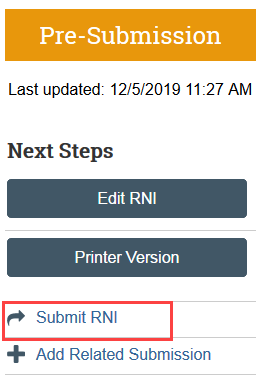
The RNI transitions to Pre-Review state and is now in HSD’s queue for review.

Respond to Action Required
After reviewing a Report of New Information (RNI), the IRB may require specific actions to be taken in response to the reported issue. A responsible party is assigned by the IRB to complete the action. The responsible party or an RNI Editor can respond using the Submit Action Response activity when the action has been completed.
The system sends an email to notify the responsible party and the submitter of the RNI, as well as the PIs, PI proxies, and primary contacts of all related studies. The RNI also appears in My Inbox for the responsible party.
Visit Respond to HSD for detailed instructions for responding to a clarification request.
Step 1: View the RNI details and IRB’s required action plan
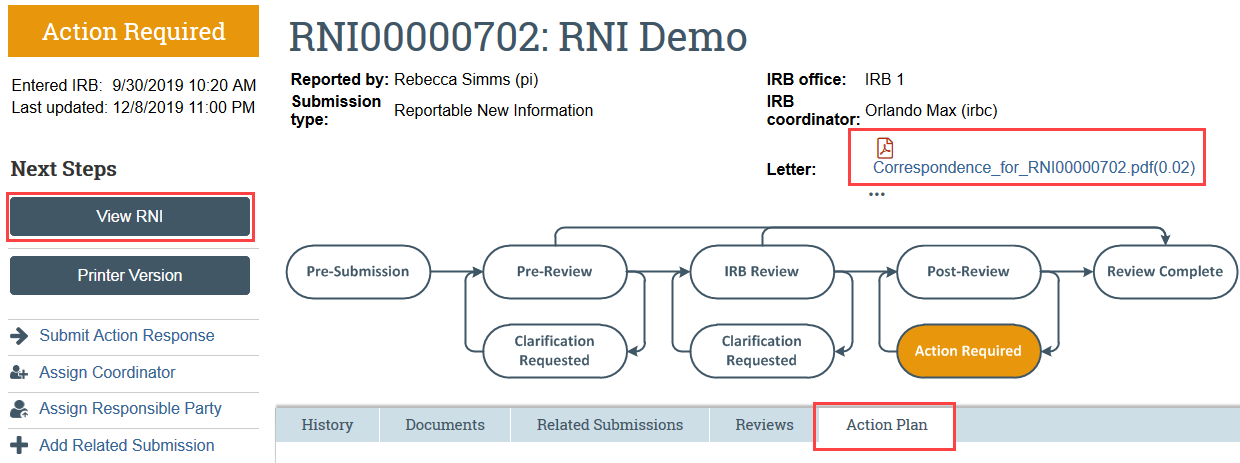
- Read the letter: Click the letter link near the top of the RNI workspace. The letter typically contains the IRB’s required action plan and a summary of the IRB’s decisions.
- Review the action plan: Click the Action Plan tab and read the required action plan listed there, plus any history of the action plan that might be helpful.
- Review the RNI submission details: If you aren’t already familiar with the details of the RNI, read it by clicking View RNI on the left side.
Step 2: Take the actions required to complete the action plan
- If the action plan requires a change to a study, create a modification and submit it for review. If there is a related modification, you should also link it to the RNI using the Add Related Submission activity.
Step 3: Responsible Party or an RNI Editor Must Submit Action Response
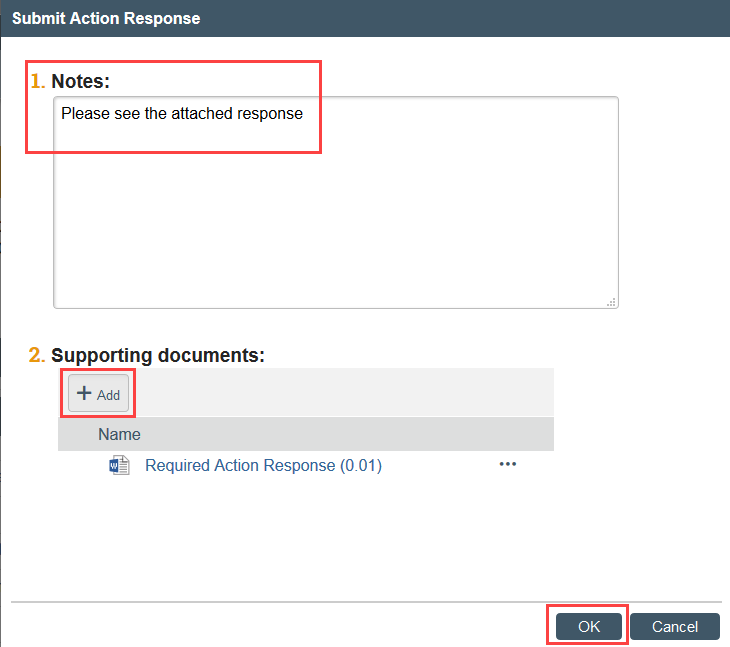
- Click Submit Action Response to indicate that the action plan is complete
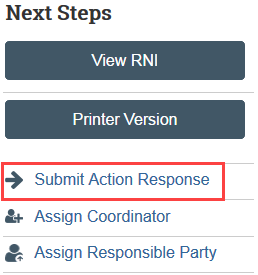
- Add your written response in the notes field or as an attachment, including a summary of the actions taken to resolve the reported issue and complete the action plan and click OK
